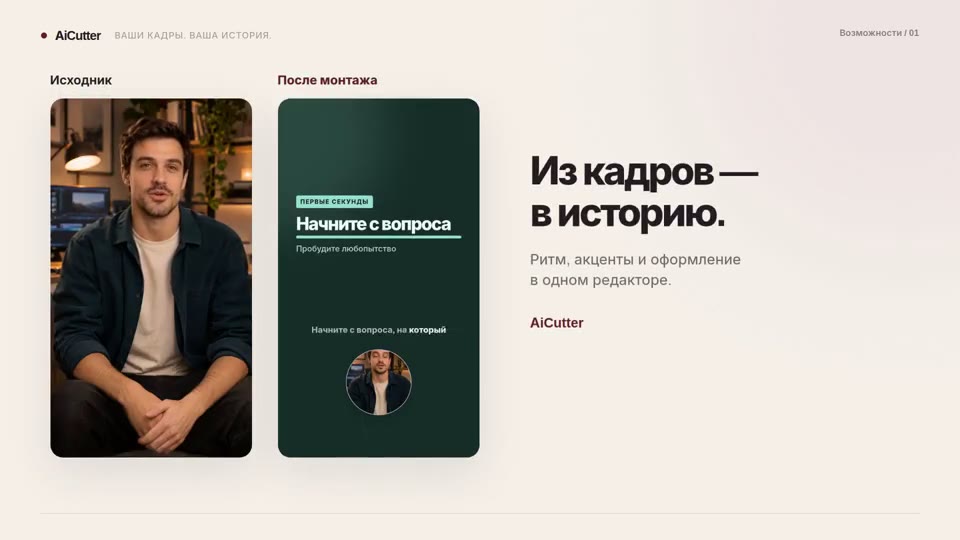
How to make Reels with AI from your own footage
Step-by-step process in AICutter: which videos to upload, how to formulate a task, check the editing and prepare a vertical video for publication.
AI editing begins with an understandable task. One video needs a short finished thought, another needs a sequence of actions, and the third needs beautiful details to match the music. If you just upload files without explanation, the result may turn out to be a neat slicing that does not show your idea.
In this guide, we will analyze the working path: prepare the source footage, describe the result, get the first version in AICutter and check it in the editor. The AI suggests editing, and you make the final decision about the scenes, meaning, and design.
1. Prepare the source footage for one story
For a new project, AICutter accepts from one to 20 videos. The total duration of the source footage is limited to 900 seconds. This restriction applies to all uploaded files together, not to each one individually.
Decide what your video is about before uploading. For a talking-head Reel, choose clips on one topic with clear speech. For a process video, include a wide shot, key actions and a close-up of the result. Check the file order before uploading a step-by-step process so the sequence stays clear.
- Remove obviously unnecessary duplicates and random entries.
- Save frames that explain the action, not just look nice.
- Add a completed result if the story is built around the process.
- Make sure that the important part is not covered by the hand and does not go beyond the boundaries of the frame.
2. Describe the result, not just the duration.
“Make a nice Reel” leaves too much to guess. Specify the topic, audience, sequence, target length and audio preferences. Length is a useful limit, but it does not explain what the video should say.
For example, to explain: "Put together a vertical video about registration. Leave the account creation steps and the important bonus condition. Remove the repetitions. Save the original speech, add readable subtitles, and don't close the interface buttons."
For the visual process: "Show the creation of a design from the basics to the finished result. Keep the sequence of stages. Focus on the transfer of the drawing and the final detail. Turn off the background speech and use the selected music."
Do not ask to show a stage that is not in the source footage. The AI can select, crop, and arrange uploaded scenes, but missing footage will need to be added separately.
3. Select the format and music track
For a vertical Reel, choose 9:16. If the material is intended for horizontal viewing, use 16:9; for square — 1:1. The format changes the available space, so important text, face, or object needs to be checked after cropping.
You can add your own music before the new AI video editing. Choose which second to start the track, adjust the volume and describe the desired mood. Preparing a track helps to set the tempo, but does not guarantee that any source footage will be suitable for the selected song. For a detailed analysis, go to guide to adding music to Reels.
4. Wait for the finished AI editing
After launch, the service analyzes the materials and builds a new version. While processing is underway, the task status and progress are displayed on the screen. The original recording is not yet a ready-made AI result.
When the version appears in the project, look at it in its entirety with the design. Don't limit yourself to the first scene: mistakes in sequence, meaning, or framing are often noticeable only at the joints and at the end of the video. The source footage and previous versions remain in the project so that you can compare the options.
5. Check the meaning, framing, and design
Start with the meaning. Is it clear what the video is about to a person who has not seen the source footage? Does the thought end? Is there still a condition without which the phrase becomes incorrect? In the video with the process, make sure that the intermediate action did not appear after the finished result.
Then check the picture. In vertical format, a face, a button on the screen, or a working part may fall outside the frame. Correct the framing and accent position. If the zoom gets in the way of understanding the action, reduce it.
Captions also require viewing: the AI may make a mistake in the name, number or term. Correct the text, size and position. Captions should help you watch the video, not close an important object. The palette and mood change the design; this does not mean automatically repainting the entire shoot.
In the editor, you can change the borders and order of scenes, text, framing, music, and design. Manual edits and re-exporting an already created result do not consume another AI run.
6. Export and view the finished file
After the edits, export the video to MP4. Versions up to 1080p are available in AICutter; subtitles can be downloaded separately in SRT. Increasing the export size does not restore details that were not present in the original record.
Before publishing, open the downloaded file and watch it with audio to the end. Check the first frame, the joints, the readability of the subtitles, and the final scene. Then evaluate the video on your phone: small text that looks normal on a large monitor may be inconvenient for mobile viewing.
What to do if the first version didn't fit
First identify what needs to change. A single cut or caption is usually quicker to fix manually. If the concept has changed, update your brief and request a new AI edit. Each new AI run uses another credit.
AI-editing helps to put together the foundation and try the design. It does not replace your content review and does not guarantee views or a universally successful result. A good source footage, a specific task, and a careful final review remain important parts of the work.
Additional images, video scenes, and music can be prepared in AITale — neural networks for photos and videos, and then upload the necessary files to AICutter yourself. Projects use separate accounts and pricing plans.

 AiCutter